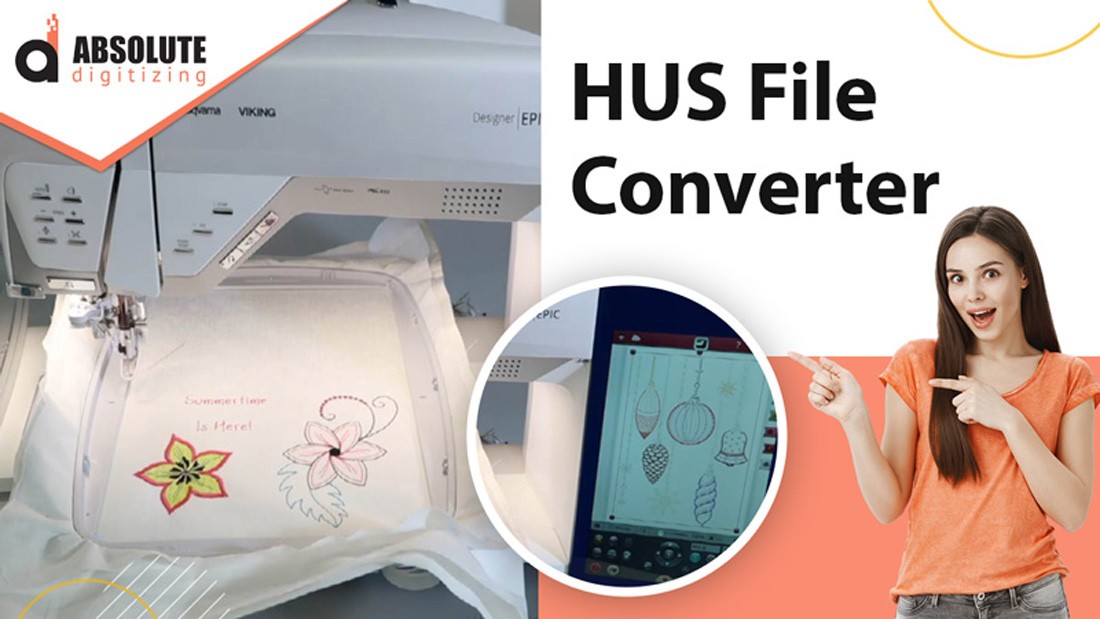
Convert JPG to HUS Embroidery Files for Logos and Custom Designs
So, you’ve got a fantastic logo or a brilliant custom design—maybe something you sketched on a napkin or polished up in graphic design software. It looks perfect as a JPG on your screen, but now you want to bring it into the tactile, textured world of embroidery. Specifically, you want to stitch it out on your precious Husqvarna Viking machine. That means you need to navigate the process to convert JPG to HUS embroidery files.
This leap from a flat, static image to a dynamic, stitch-perfect embroidery file can seem a bit daunting. But think of it as a translation process—you’re taking the language of pixels and converting it into the language of stitches that your machine can understand. Let’s unravel how you can turn your digital artwork into beautiful, embroidered reality.
Understanding the Journey: From Pixels to Stitches
First, it’s crucial to grasp why you can’t just pop a JPG directly into your embroidery machine. A JPG (or JPEG) is a raster image file. It’s made of a fixed grid of tiny colored squares called pixels. It’s great for photographs and complex gradients, but it has no concept of separate shapes, layers, or paths—all things that are vital for embroidery.
An HUS file, on the other hand, is a specialized format for Husqvarna Viking sewing and embroidery machines. It’s a digitized embroidery file that contains precise, step-by-step instructions for the machine: where to move the needle, what type of stitch to use (satin, fill, running), when to change thread color, and even when to trim. The process of creating this file is called digitizing, and it’s both an art and a science.
The Core Steps in the Conversion Process
You can’t truly “convert” in a single click; it’s more of a recreation guided by your original image. Here’s a breakdown of the typical workflow.
- Preparation is Everything: Your JPG Starting Point
Before you even open digitizing software, your JPG needs some TLC. Clean, simple designs with clear boundaries convert best. If your logo is overly detailed, has tiny text, or uses subtle gradients, you’ll need to simplify it. Use a basic photo editor to increase contrast, clean up stray pixels, and potentially trace or vectorize the key outlines. Remember, embroidery has physical limitations—very thin lines or tiny details might not stitch out well. Starting with a high-quality, clear JPG makes the next steps infinitely smoother. - The Heart of the Matter: Digitizing Software
This is where the magic—and the work—happens. You’ll need software that can digitize designs and export to the HUS format. Options range from automatic conversion tools (often called “auto-digitizers”) to professional-grade, manual digitizing programs.
- Auto-Digitizing Software: These programs promise a quick fix. You upload your JPG, choose some settings, and the software attempts to create an embroidery file. For very simple, two-color shapes, this can be a decent starting point. However, for logos and custom designs, results are often disappointing. The software can misinterpret details, use inefficient stitch paths, and create a design that looks clunky and amateurish when stitched.
- Manual Digitizing Software: This is the professional route. Software like Husqvarna’s own Premier+™ or other industry standards gives you complete control. You manually trace over your imported JPG image, defining different stitch elements (like fills for solid areas, satin stitches for borders and text, and run stitches for fine details). You assign stitch types, directions, densities, and the all-important sewing order. It has a learning curve, but it’s the only way to ensure a high-quality, durable, and beautiful result that does your original design justice.
- The Critical Step: Testing and Refining
Never, ever stitch your new HUS file directly onto your final project. The first stitch-out should always be on a similar scrap of fabric. Watch for issues: Are there too many jumps (long stitches the machine makes to travel between sections)? Is the stitch density too high, making the fabric pucker? Does the text look legible? Based on this test, you go back into your software to tweak and refine—adjusting pull compensation, stitch length, or the sequence of colors. This iterative process is what separates a mediocre embroidery from a stunning one.
Why Take the Time to Do It Right?
You might wonder if the effort is worth it. Absolutely. Properly digitizing your custom design means the final embroidery will be clean, professional, and durable. It will lay flat on the fabric, the colors will pop as intended, and the details of your logo will be recognizable. A poorly digitized file can lead to thread breaks, fabric puckering, and a design that looks nothing like your original vision. For a business logo on company uniforms or a cherished custom design for a special gift, quality is paramount.
Making the Choice: DIY, Hire a Pro, or a Hybrid Approach?
Now, you have a decision to make based on your budget, time, and how often you’ll need to do this.
- The Do-It-Yourself Path: If you’re embroidery-curious and see yourself creating many custom designs, investing time in learning manual digitizing is a powerful skill. It gives you ultimate creative freedom.
- The Professional Digitizer Route: For a one-off project like a company logo, or if your design is complex, hiring a professional digitizer is often the most efficient and reliable choice. You send them your high-quality JPG, specify your desired size and fabric, and they send back a pristine, ready-to-stitch HUS file. You pay for expertise and save hours of frustration.
- The Middle Ground: Some online services offer a semi-professional conversion. You upload your JPG, a human digitizer (not an auto-tool) works on it, and you receive the HUS file for a fee. This can be a great compromise between cost and quality.
Bringing Your Design to Life
Once your HUS file is perfected and tested, the fun part begins. Transfer the file to your Husqvarna Viking machine via USB or direct connection. Hoop your chosen fabric and stabilizer appropriately—this step is crucial for professional results. Select the correct needle and thread, and then watch as your machine meticulously brings your digital JPG to life, stitch by beautiful stitch. It’s a uniquely satisfying moment to see a design that existed only on a screen become a permanent, textured piece of art.
Conclusion
Transforming a JPG into a HUS embroidery file is a gateway to incredible personalization and professional branding. It’s a process that demands patience and attention to detail, whether you’re learning the craft yourself or collaborating with a skilled digitizer. By understanding the journey from pixels to stitches, preparing your artwork thoughtfully, and prioritizing quality digitizing, you ensure that your logos and custom designs are not just copied, but are faithfully and beautifully recreated in thread. So dig out that favorite design, and start the exciting process of making it stitch-ready—your embroidery machine is waiting to bring your creativity into the physical world.